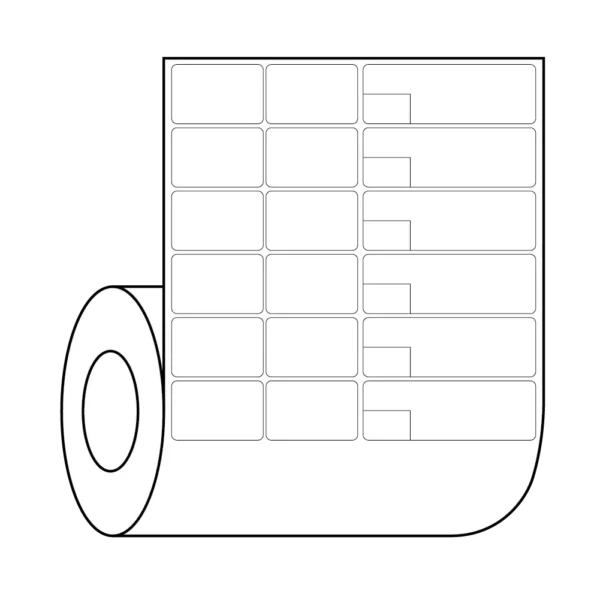
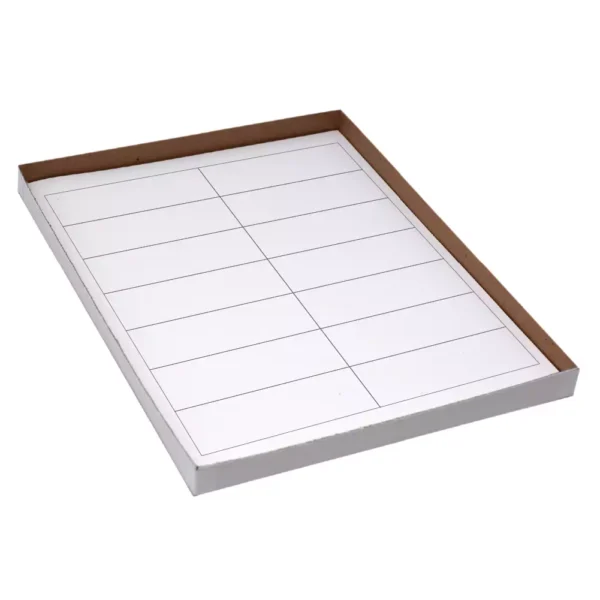
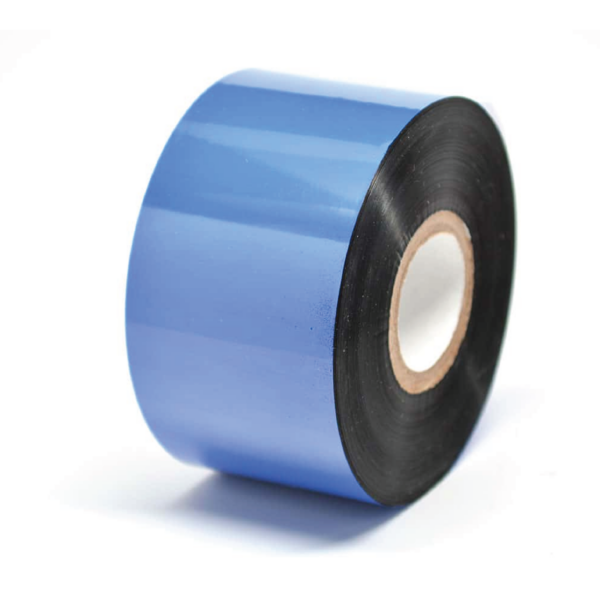
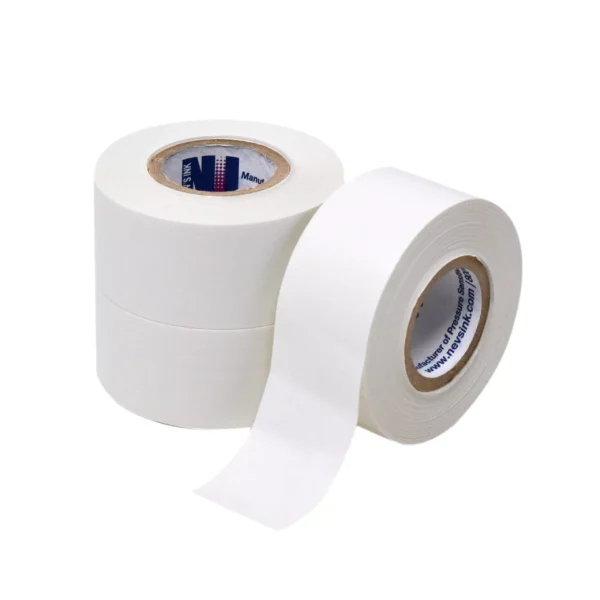
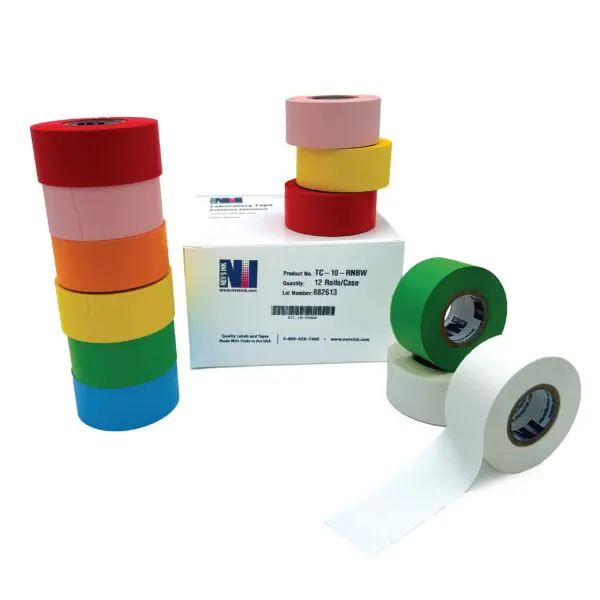
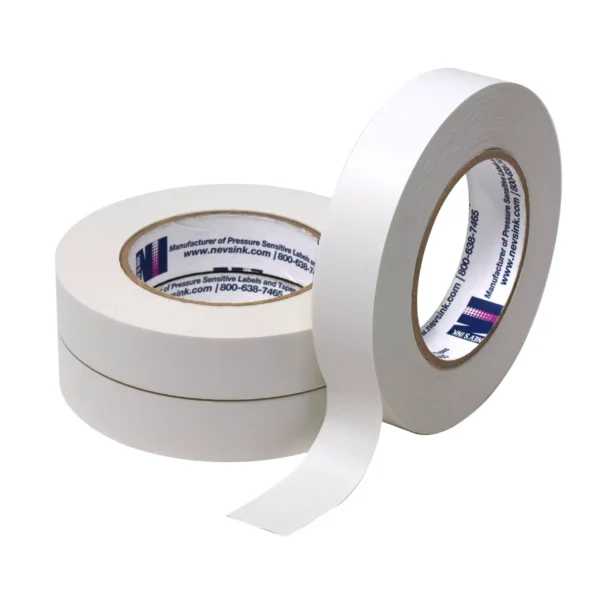
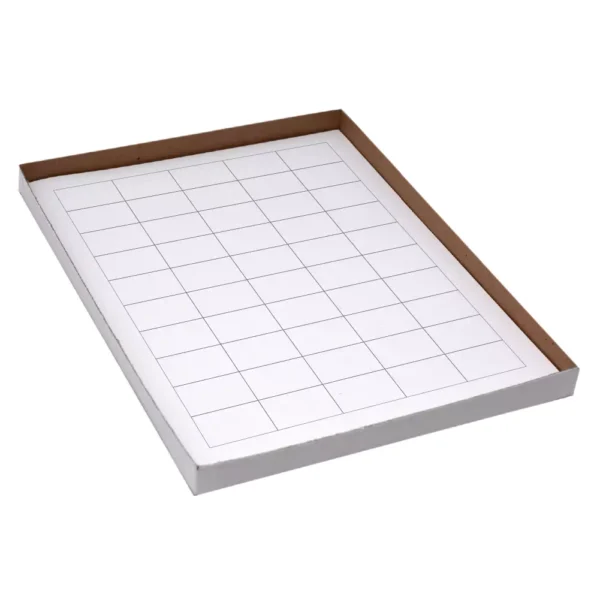
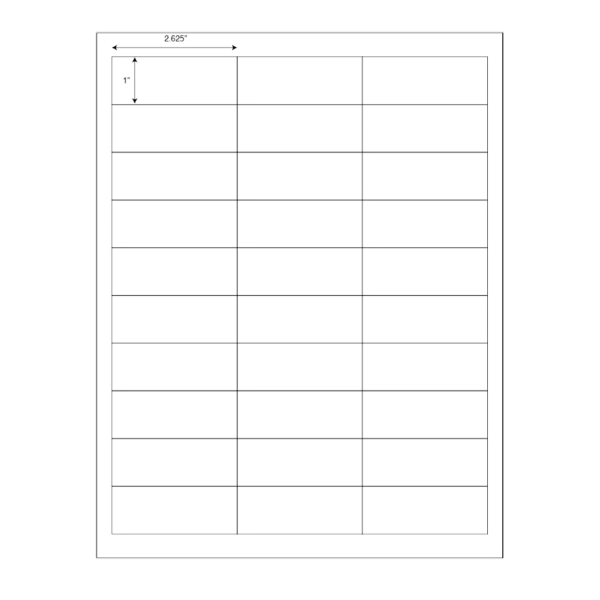
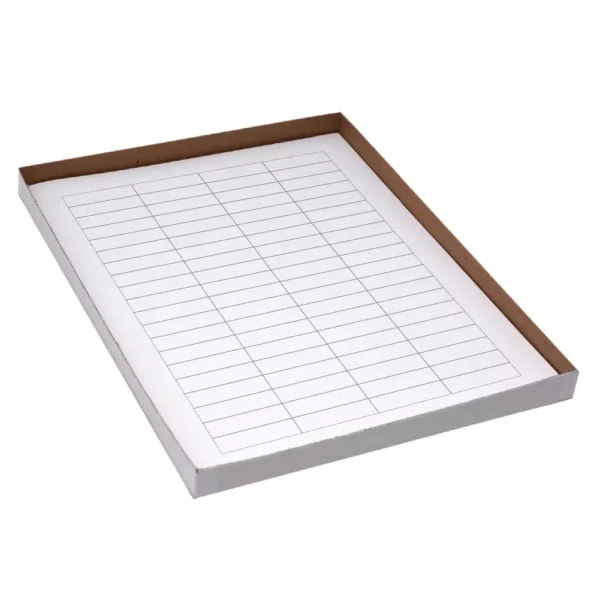
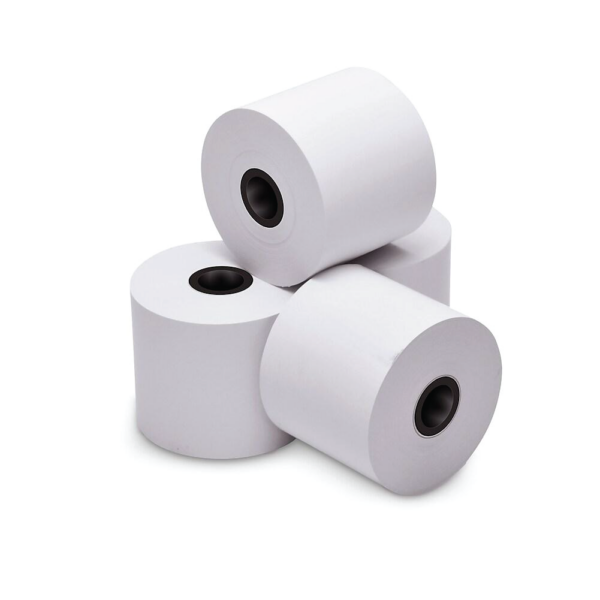
Label & Tape Solutions
for Today's Business


[Back To Blog]

4 Steps to Wrap Items for Autoclave Sterilization

Published: 2021-05-24
4 Steps to Wrap Items for Autoclave Sterilization

Ready to put items in your autoclave sterilization machine? You don’t just throw items in there—you need to make sure they’re properly wrapped. Since healthcare and industrial items are the ones that are placed in an autoclave machine, wrapping them up well is essential. In this post, we will teach you how to wrap items for steam sterilization properly.

Properly wrapping up items for autoclave is crucial. Since the autoclave will work as a pressure cooker, which provides pressure and steam to kill pathogens on the tools. Wrapping the items is a process you need to do repeatedly as you reuse a lot of the tools to prevent cross-contamination.

You will need the following:

  • Autoclaving paper
  • Autoclave label
  • Autoclave tape

Make sure you’re wearing gloves when doing this, and you can use gauze on sharp or pointy tools so it doesn’t poke through the paper.

1. Prepare the Autoclave Paper

The autoclave paper is already precut into a square. Turn it to make it look like a diamond. Make sure not to skip this step because this will ensure the right order of folding.

2. Fill Out the Label

Fill out the autoclave label with today’s date. This will let staff know when it was placed in the autoclave. Place your initials on the label as well.

3. Lay Out the Items

Make sure the tools have enough space from one another. If there are sharp or pointy tools, you can place gauze on their ends.

4. Fold the Autoclave Paper

Now, the folding process begins. Take the corner on the bottom and pull it up over the tools. Make sure not to pull way over the items because it can make it loose. On the corner that was folded, take the corner point and fold it down to create a tab. The tab is important to open up the package to keep the items sterile.

Now, grab the left corner and fold it across to the right side. The aim is to get the package snug, but make sure it’s not too tight; otherwise, the steam and pressure won’t flow through the paper.

Just like the last fold, create a tab by folding the tip of the corner back. Repeat the same corner fold and create one more tab. After this, all that’s left for you is to fold the top corner. By now, the items are already wrapped up by the there folder, and now, take the top corner and fold over the package.

Wrap the top over, and now, you will have a package that looks like an envelope. Keep in mind: don’t make a tab with the corner here. Secure it with the autoclave tape and fill out the same information that you did on the autoclave label, but this time, add what’s inside the package.

All Done

Yes, that’s all you need to do to wrap your items for steam sterilization. Proper wrapping is crucial, so Mae sure you follow this process. In addition to that, invest in a good autoclave label and tape!


[Back To Blog]